Let’s Encrypt SSL runs into problems due to domains which do not meet the best practice standards. There are a few ways to point your domain to our web hosting network.
In this post, we will teach you how to set up Let’s Encrypt SSL certificates in your Host Nanny account using cPanel.
Step 1.
First of all, you need to make sure that your domain is pointing to the Host Nanny Name Server. If you are not sure, please check the IP address of the Nameserver using DNS Checker website. If your domain does not point to our Nameservers, please follow this step-by-step guide to configure this first How to change or update the Nameservers domain
Warning: Please don’t setup or configure the AutoSSL until the problem with domain is fixed.
Step 2.
- Login to cPanel Account.
If you do not know how to log in to your cPanel account, please see this article Login To cPanel. - When you enter the correct username and password, the cPanel home screen appears.
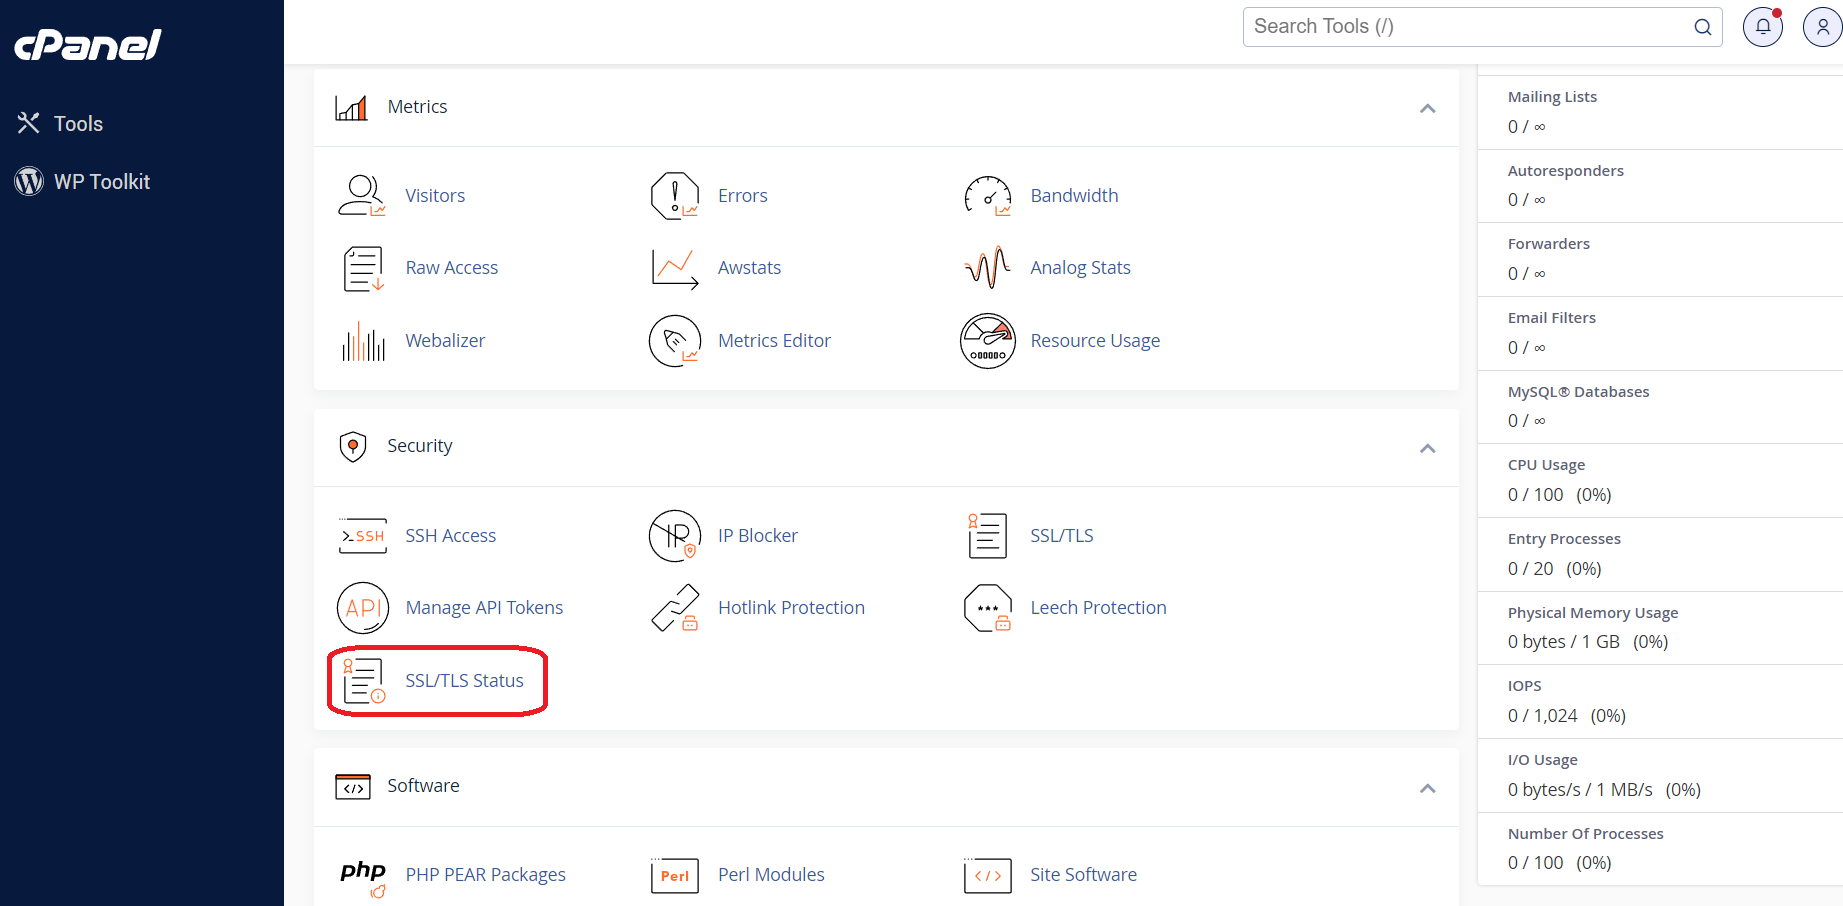
- Under the Security section, click SSL/TLS Status.
- Then click Include during AutoSSL.

Note: After clicking the Include during AutoSSL button, Please wait until all locks turn into green as shown below.
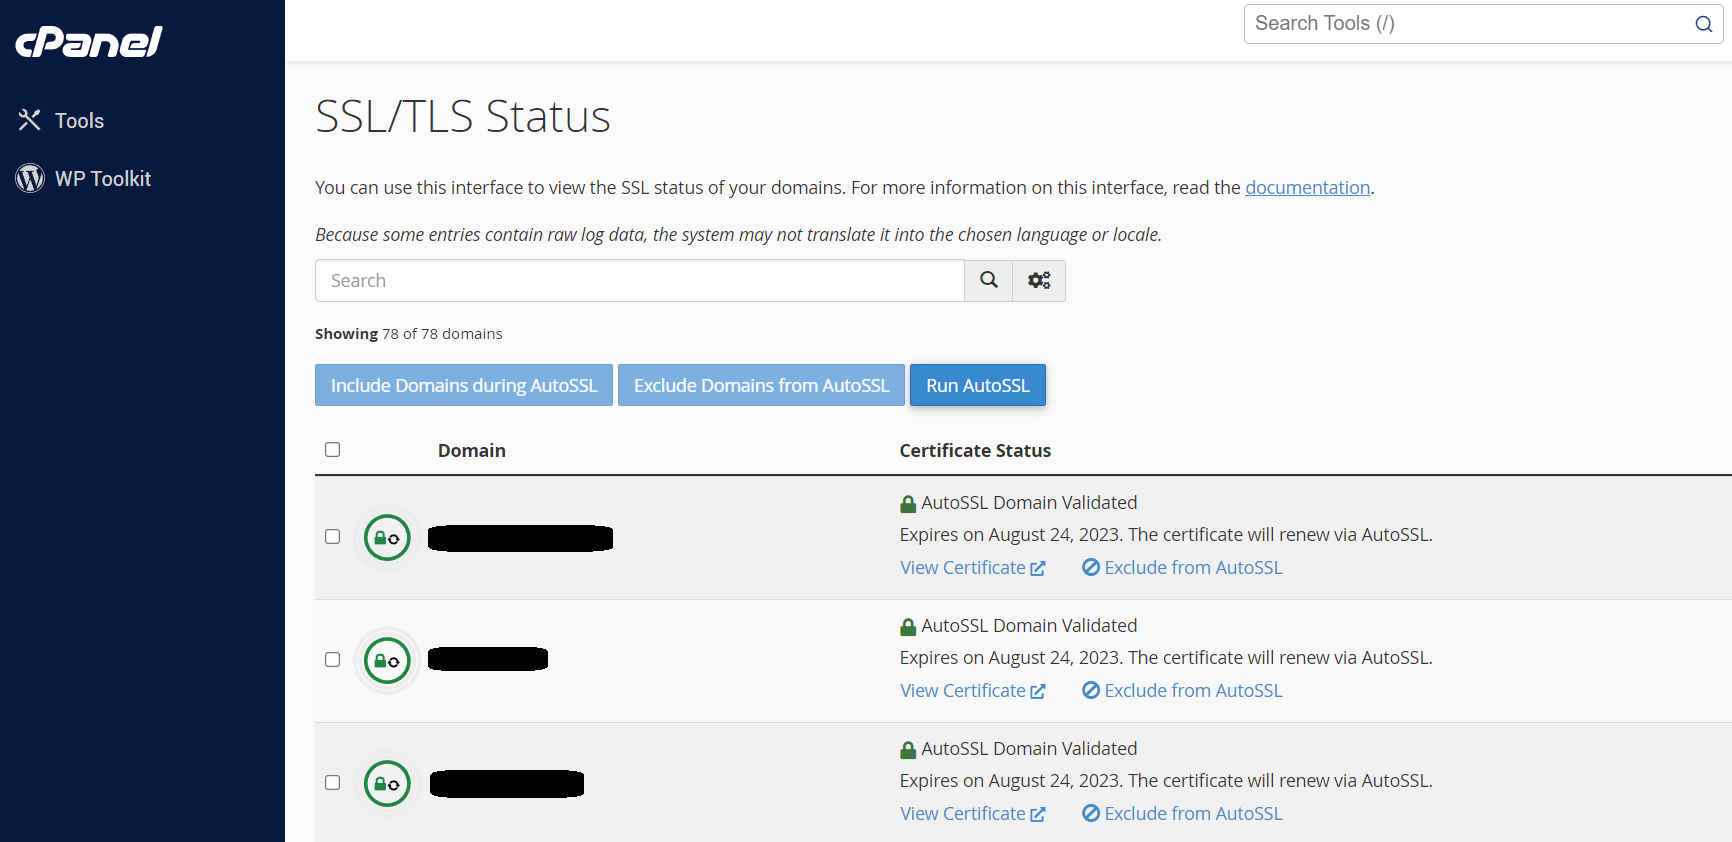
If the locks are still red then please contact our support team by create a support ticket and our support team will answer as soon as possible.
